I scoured the internet for tutorials, and I stalked peoples photostreams on flickr, but alas, there were none to be found. Lots of people had made the tunic, but no one wrote about it : (
So, I decided Japanese or not - I know a bit about sewing, I am going to try it!! I am going to share my journey. Not that this is by any means a full tutorial, but there is some pictures as we go.
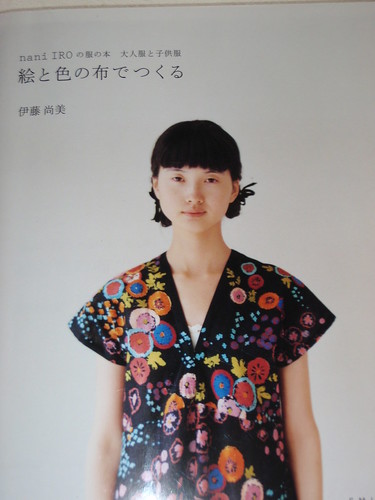
So, first thing first, here is the book:
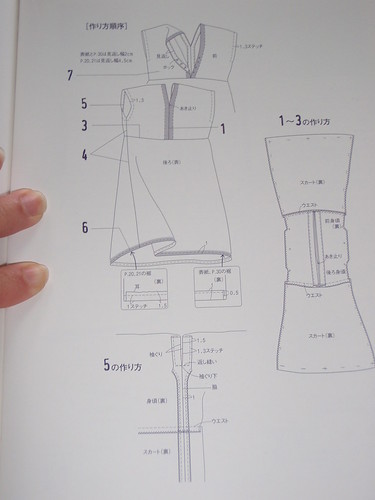
And these are the two pages with the pattern instructions. There are lots of pictures, but .. I being honest, I am really not sure I understand them.
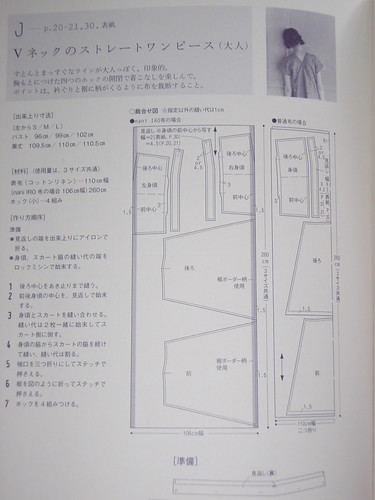
Then .. I pull out the page with the actual pattern - YIKES!!
Okay, maybe it's not that bad. I can find two of the 3 pieces no problem - but the third one is no where to be found. It is that long skinny piece. NOT Anywhere. I looked for like half an hour. It is not there. So I made one. I had no idea if it would work like it was suppossed to, but since I can't read the directions, I figure, I will never really know what I am suppossed to do.

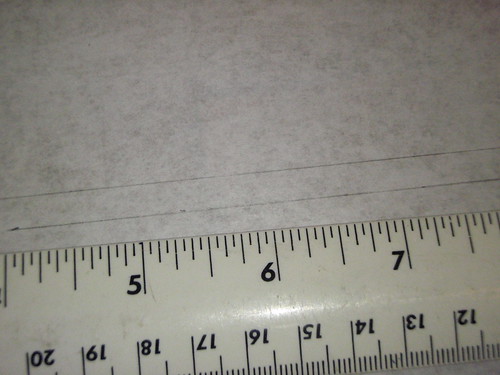
Okay, then, somewhere on the internet .. I read that you have to add in your own seam allowances, so I marked every little bit, and then played connect the dots. Now we are getting somewhere!!

The next part was simple - pin and cut out the pattern.
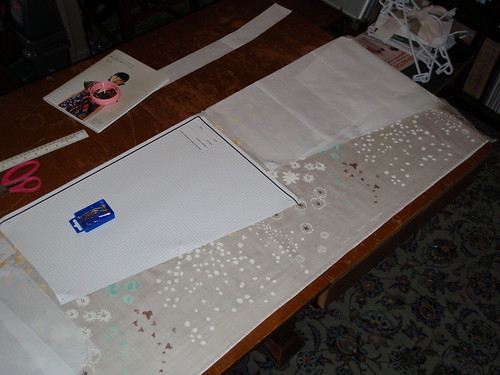
Now, the one thing I can say for sure, there is TONS of waste!! That means scraps for another project??? Another thing I know for sure ... I need to make sure that I look at what is in the background when I try to take pictures!! Nice coathangers : )
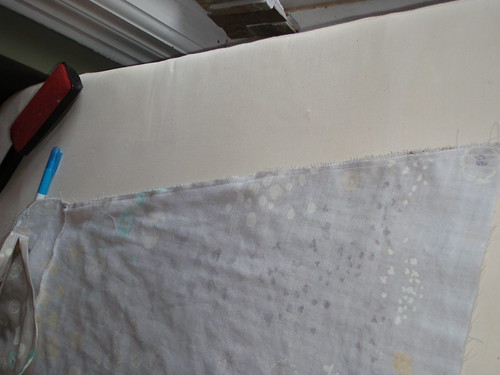
Okay. Step 1: NO CLUE is what is running through my head. Shoot. I just cut out my lovely double gauze Nani Iro fabric, and I have NO CLUE!! So ... I winged it. I folded over one edge of the long skinny piece like the picture showed, and then sewed it right sides facing to the piece that looked like it would go over the shoulders.

Then I folded that piece over, so there was a nice piece of fabric on the inside of the neck line, and sewed that in place. It sort of looks like the picture, but I am not really sure that this is what you are supposed to do???
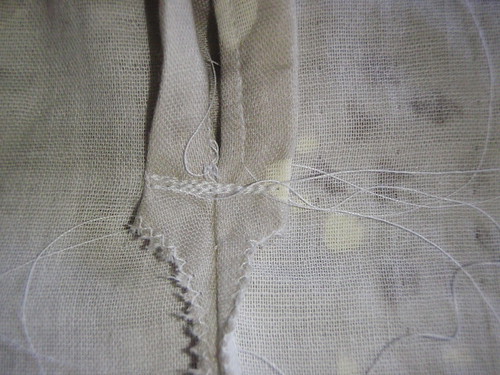
Okay. Step 2: Okay, there is no step two in the instructions! What?? Okay, it does show a picture of steps 1-3 all together, so from this, I figure that I have to sew the top two pieces to the bottom two pieces. I didn't take a picture of this for some reason ... but it was fairly straight forward. I also sewed the back of the two neck pieces together so it was attached at the back, but not at the front. I also didn't take a picture of this for some reason.
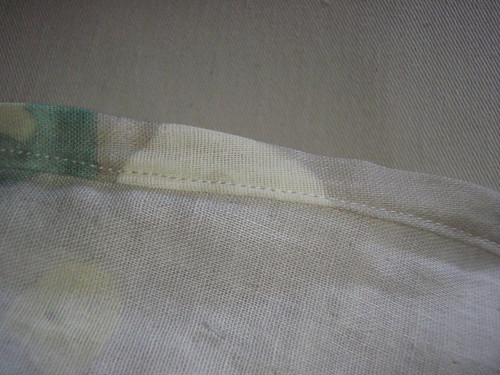
Step 3: I zigzaged everywhere ... along the seams that were just sewn, and also along the outer edges of everything.
Step 4: Sew along the sides of the shirt/tunic (the long sides), so now it actually looks like a shirt.
Step 5: Based on the pictures, I figure you are suppossed to make a pretty seam around the armhole, then sew at the bottom to re-inforce it. Finally, it looks like you are to do a topstitch along the edges of the zigzaged portion to sew it down.
Step 6: Hem the bottom, and ta da!! Done!!
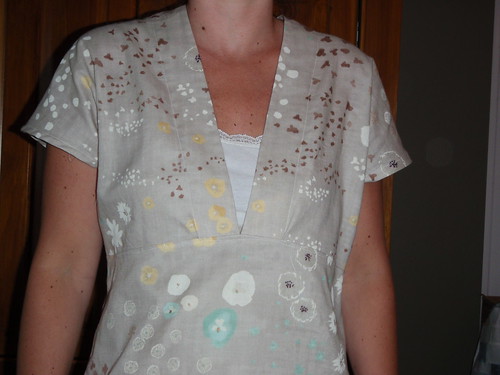

I don't think it turned out too bad .. in fact, I think this one is a keeper!! Phew!!
All in all, I think that I WILL make more from this book ... I am pretty happy with the overall result.
You can be satisfied it's lovely .....
ReplyDeleteYou are braver than I. It turned out great too. I want to get a japanese kids clothes book but am too scared too.
ReplyDeleteOh my gosh... I stinkin' LOVE this! It turned out incredible! I love love loooove it!
ReplyDeleteWow! Incredible I can't even follow English patterns. The fabric you have chosen is so beautiful, well done!
ReplyDeleteKandi x
fantastic so looking forward to seeing more x
ReplyDeleteWell done! It turned out great. I am so jealous of your fabric and pattern book, and the final product!
ReplyDeleteWow, that is great! It looks fantastic on you!
ReplyDeleteIt's lovely! I admit that Japanese dress books can look intimidating at first, but once you get the hang of it, you're addicted. And I agree, Nani Iro fabric is some of the best!
ReplyDeleteCute top! That fabric is delighful and I think you did a great job interpreting the (visual) instructions. I definitely say make more!
ReplyDeleteYes! I am having the same problem! I started this project a year ago but could only find two pattern pieces. You did a great job of figuring it out, but I wonder if this is how others have done it. Anyone?
ReplyDeleteThank you for all the photos and descriptions. Your tunic turned out lovely.