Sunday, February 27, 2011

Is it really Sunday already?

Wow .. another week hits the history books. I really feel like time is whipping by so fast!

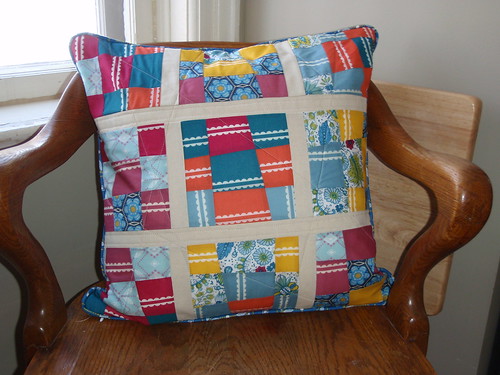
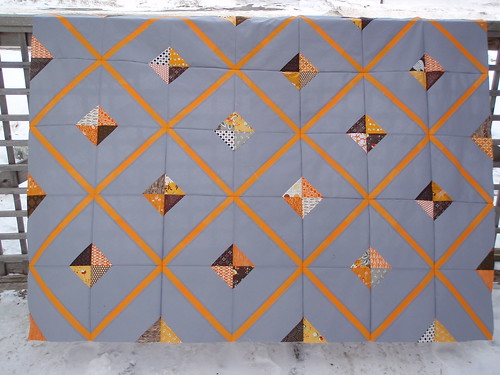
I have managed a little sewing between outdoor activities. First, I have finally finished the top of the quilt for the Urban Lattice Quilt a long.

Urban Lattice

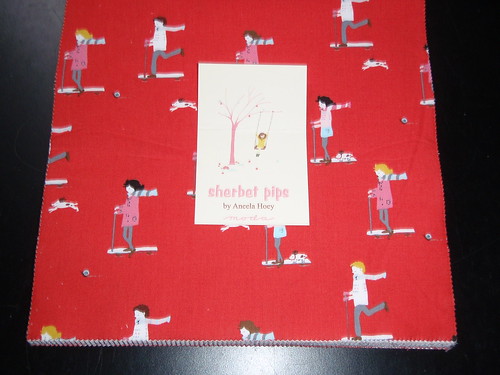
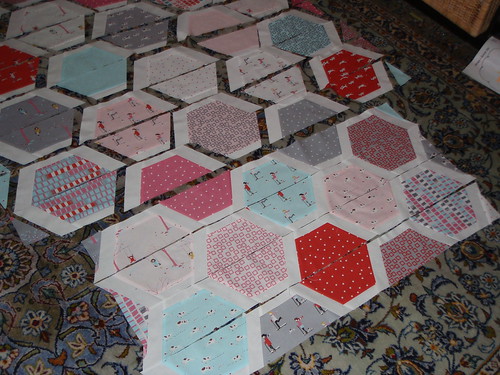
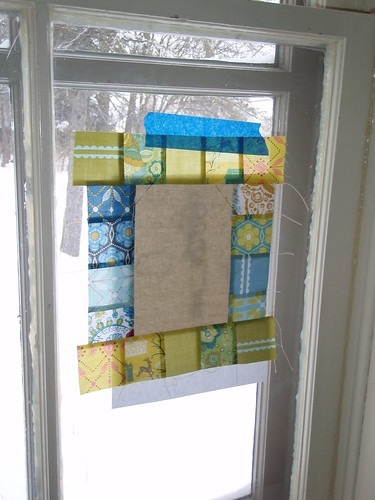
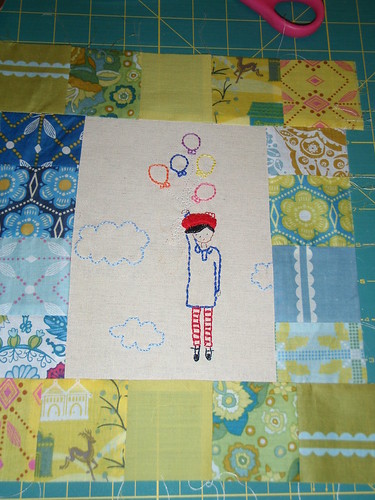
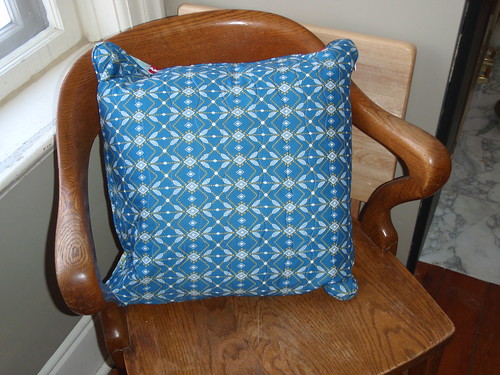
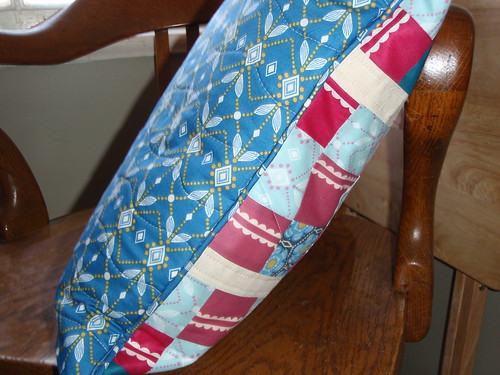
And, since I need another quilt like I need a hole in the head, I started something fun with this beauty!

P2250030

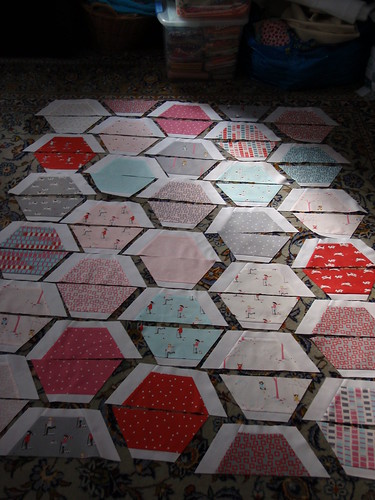
I couldn't resist buying a layer cake of this yet to be released fabric. It was reasonably priced, and so super cute! I have seen a few little projects popping up here in there, and when I saw this project over on the Moda bake shop ... I went for it!! These pictures are not the greatest .. but you can see that it's coming together nicely!

P2270037

P2270041

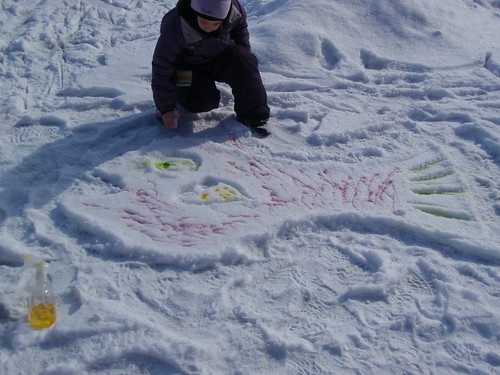
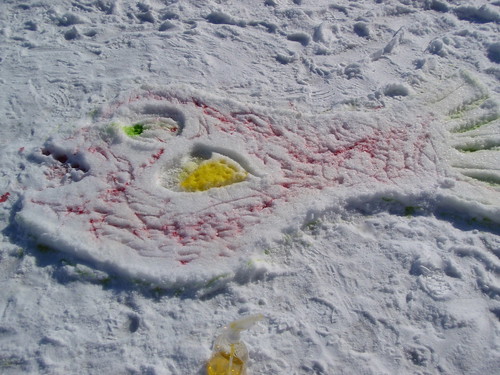
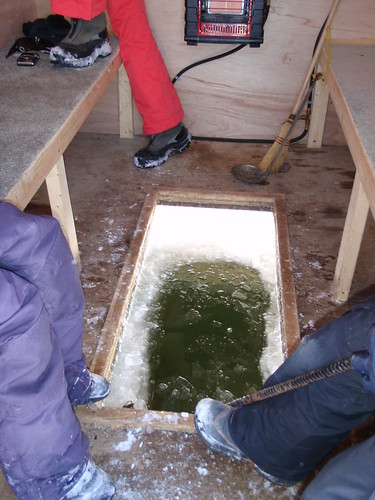
Finally .. a little glimpse into our family day outdoor adventures. Snow painting, ice fishing, skating etc.

P2210017

P2210021

P2210006

P2210009

P2210004

Monday, February 21, 2011

It's Family Day

A few years ago, we got a new holiday. They call it family day, which is very fitting since I will be spending the day with the kids and the hubby doing family stuff. We are off to a winter festival for snowman building, ice skating, sack races and a big BBQ.

Anyway, I have finished off my last two swaps, and now sewing for me can start!! I LOVE swaps, but I may have over-committed a little because I have no self control. I have a lot of WIPs, and instead of finishing those, all I have been doing is sewing for swaps.

Anyway - here are the finished products for the Urban Home Goods:

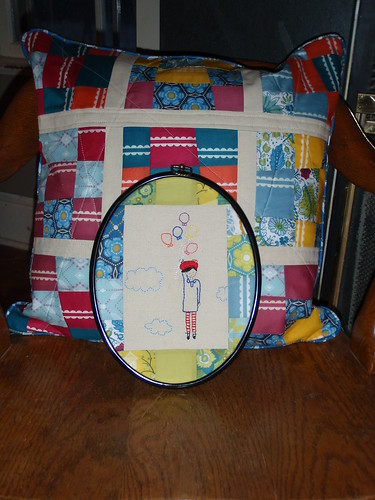
Urban home goods swap items

My partner asked for a hoop and a pillow .. so a hoop and a pillow it is!

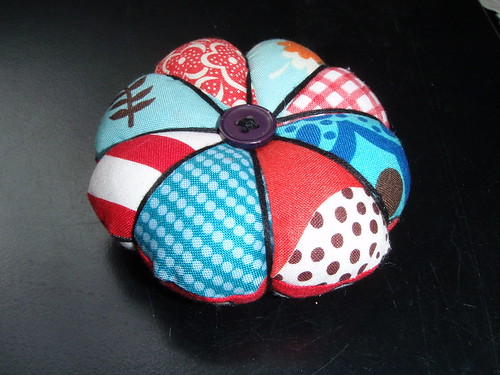
Then, I finished up the pincushion for the pincushion swap:

Scrappy Pincushion

I modified the pattern to use more than one fabric ... but used this tutorial:

www.stitchinmission.org/PC_Tutorial.html

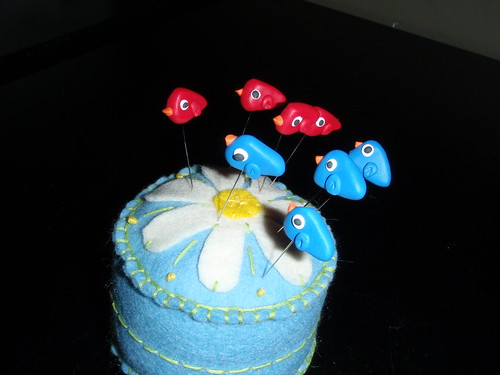
Lastly, since the pincushion looked a little lonely, I decided to pull out the sculpey and make a few little friends to go home with the new pincushion.

Birdie pin toppers!

I will only send a couple, but since the sculpey was out anyway, I made a whole flock!

Wednesday, February 16, 2011

3 finished swap items!!

So I have been working on some finishing up, and can show you 3 other finishes that are off to their new homes.

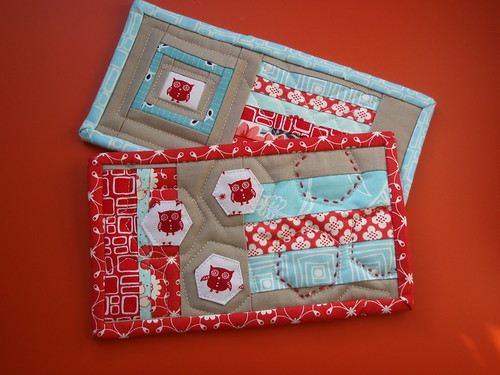
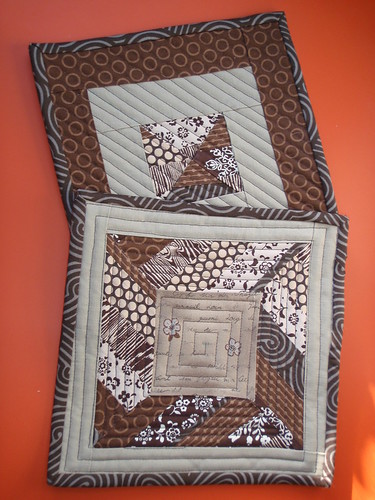
First, two little mug rugs, for the scrappy mug rug swap. You really only need to send one, but I made two, and then couldn't decide which one to send. So, I have sent both. Hopefully they are well loved in their new home.

Mug Rugs

Then, I finished the potholders for the potholder pass. The theme was monotone, and my partner picked brown.

Monotone Potholders

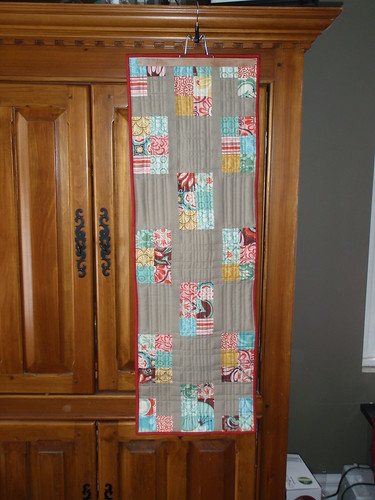
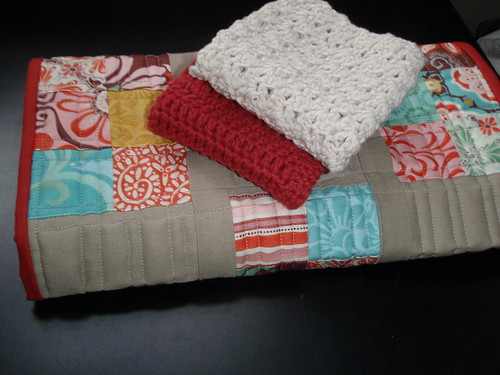
Last up, is the spicing up the kitchen swap. I made a table runner, and then crocheted some dishclothes to go with it. This is the front.

P2131710

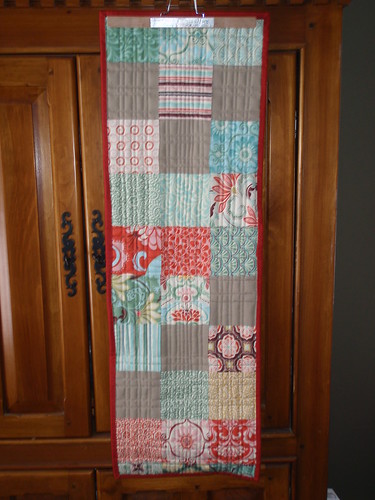
This is the back. Sorry the photo is a bit blurry ... I took this a few days ago, and can't take another since it's already in the mail.

P2131711

Spicing up the kitchen goods

I have two more swaps that just need some finishing touches, and then I can hopefully get to all the other works in progress that seem to be cluttering up my sewing area.

Saturday, February 12, 2011

Piping and an invisible zipper in a pillow

Ok ... so, as a continuation of the pillow tutorial, I now have all the supplies I need, so I am all ready! I hope you will be able to understand my steps. By all means, ask me questions if you have no idea what I am talking about!

Ok, for the first step, you need to prepare your cording. You can buy premade cording, which means you can eliminate this step if you want. But, if you want to have the cording match or to be a specific material, it's really quite easy. You will need it to be the same length as the perimetre of the pillow. In my case this is 20 inches x 4 sides, or about 80 inches. I make it a bit longer, since you need to overlap the start and finish a bit. I am doing curved corners, so you don't really need to add any extra for the corners. In total, I am doing about 85 inches of cording.

You can really choose any size cording. For this one, I think I chose 6mm, but it's really up to you what size you use. Then, you are going to need to measure how wide you need your strips of fabric to be. I do this with a tape measure. I wrap it around the cording, leaving 1/2 an inch on each side of the cord.
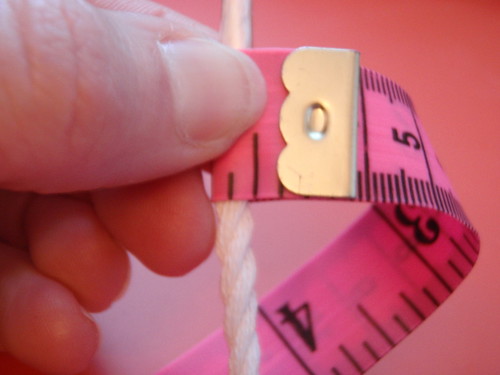
P2121635

Then, I look to see how wide the fabric needs to be. In my case, this is 1 and 1/2 inches.
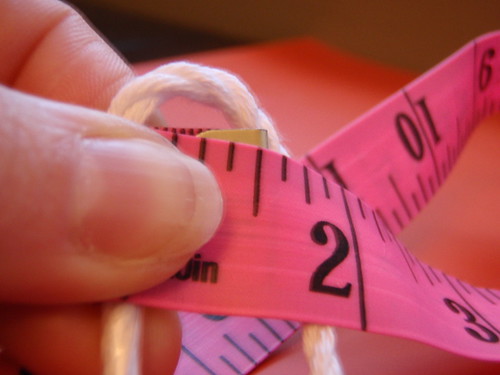
P2121640

Next, I cut strips of fabric on the bias 1 and 1/2 inches wide. You know how to do this right??
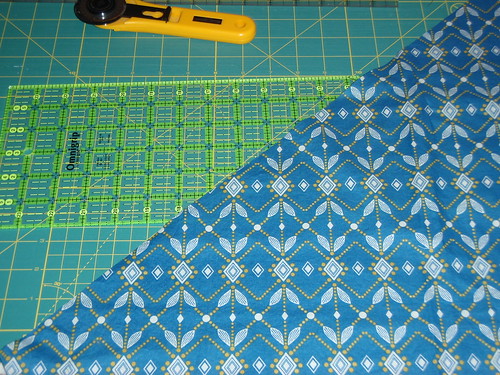
P2121643

Ok, then I sew my fabric together, to make one continuous strip. For those of you who have made a binding for a quilt - you use the same method. For those of you have no idea, here is a quick how to.

You place the two pieces of fabric right sides together in a "t" type shape.
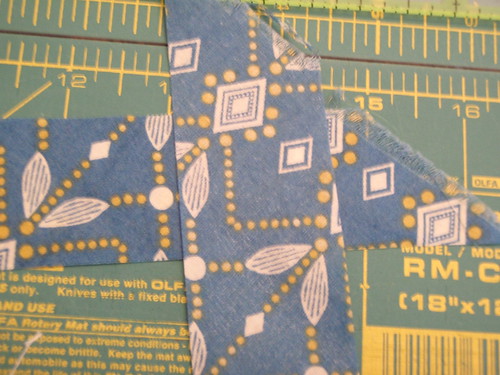
P2121646

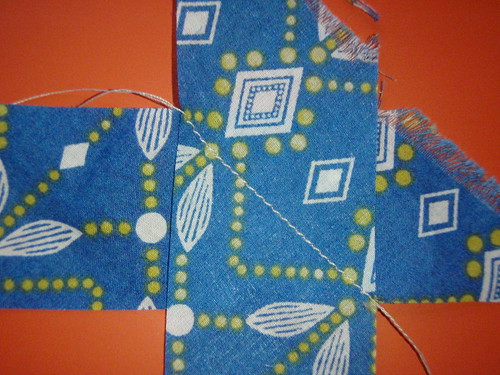
Then you sew from corner to corner.

P2121651

When you open it up, it will look like a continuous piece.
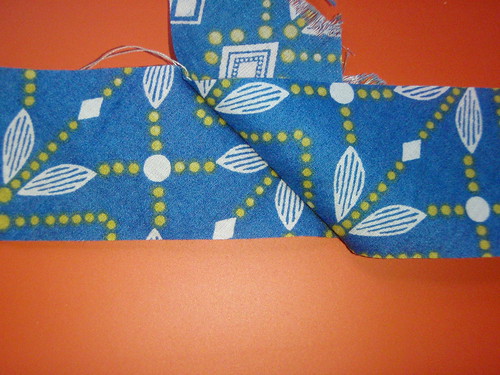
P2121652

Ok, next, you want to encase the cording inside the fabric we just sewed together. I use my zipper foot for this step. I leave my needle position in the centre, and fold the cording inside the fabric so that the edges meet. Then I sew beside the cording for the entire length of the fabric.
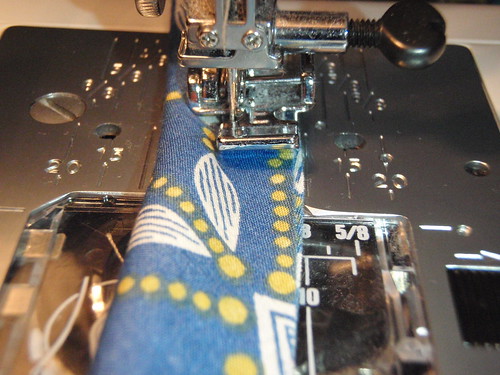
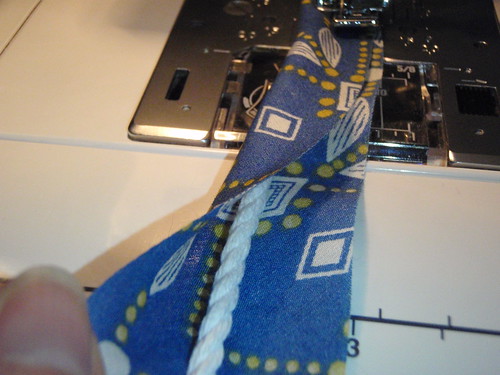
P2121653

P2121654

Are you still with me?? Your cording is done!

Next, we are going to sew the cording to the right side of the front of the pillow. I pin all the way around with the raw edge of the cording we just made to the raw edge of the front side of the pillow. I just curve around the corners. When you get to the end, you will cross the ends over each other.
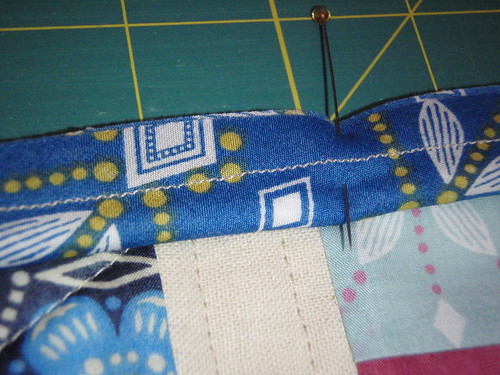
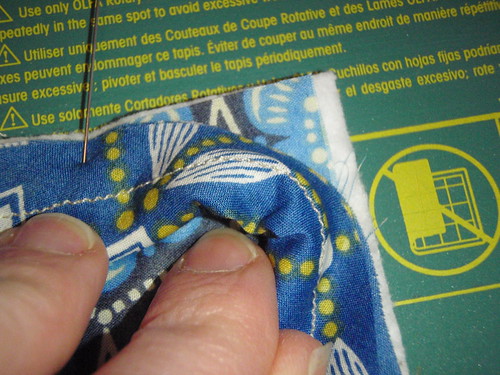
P2121661

P2121662

Move your needle position over to the left, so you move the needle closer to the cording, and then sew all the way around the pillow. You are going to want to try your best to sew inside the seam line you made when making the cording. That's it!!
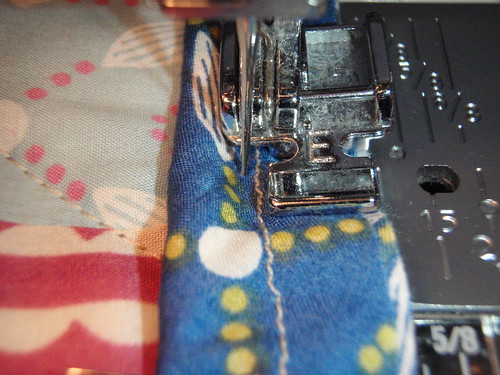
P2121666

You cross the ends over and sew over them.

P2121665

Ok - now the fun part. Don't be scared. It's time to put in the zipper.

Open Zipper the full length, and iron the zipper (on the wrong side), so that the teeth lie flat.
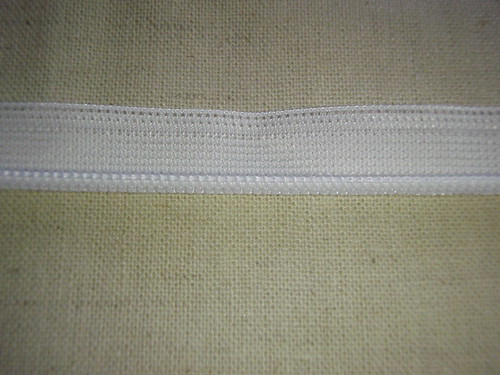
P2121668

Place the teeth as close as you can to the piping, and make sure the teeth stay flat (open). You are going to stitch in the ditch as close as possible to zipper teeth without stitching the teeth. If you hit the teeth, the zipper won't close, so this is really important.
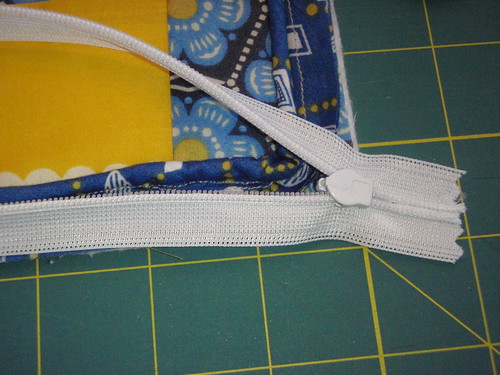
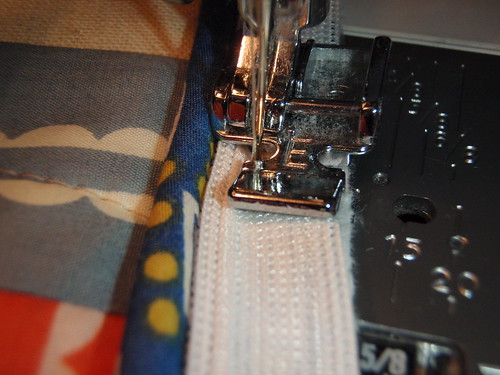
P2121669

P2121670

Next, zip the zipper closed, and lay the back of the pillow, right sides together with the front. Keeping the zipper closed will help match the side edges of the pillow.
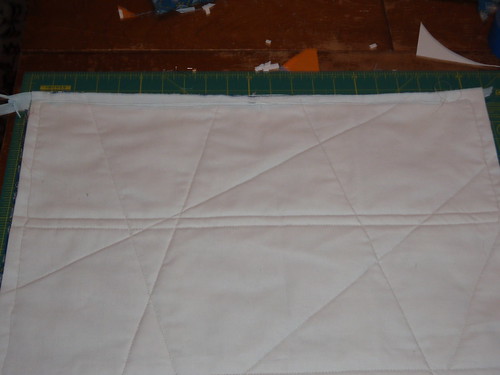
P2121671

With right sides together pin zipper in place at the bottom of the pillow back matching outside edges of the pillow. You will then need to open the zipper to sew it to the back. It's really important that you can open and close the zipper, and don't get it all twisted.
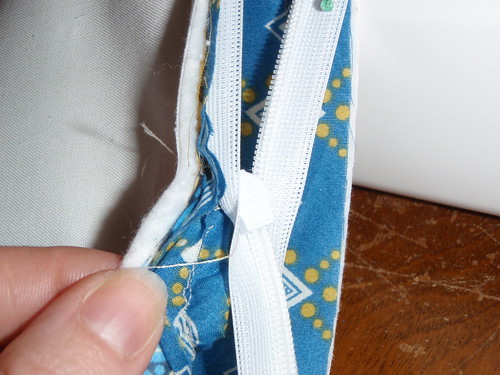
P2121674

Now, keeping the teeth open, stitch in the ditch as close as possible with out catching the teeth in your stitching.
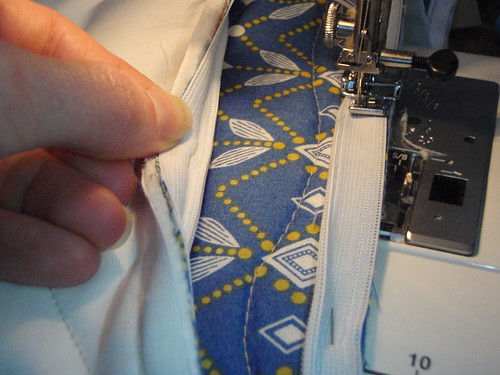
P2121672


Now you are ready to close in the entire pillow. You have right sides together, and you will start sewing at one of the zipper ends. You sew over the zipper to close it in, and then sew all the way around the outside of the pillow.

I like to stitch on the side where you can see the previous cord stitching. It doesn't really matter .. but you want to sew as close to the cording without actually sewing the cording as you can. You can feel the cord, and just have the zipper foot snug into the cord.

Once you go all the way around, you sew over the end of the zipper, to finish it off. Be sure to back stitch at the start and the end of these seams at the zipper point.

You will also want to make sure the zipper is open before you finish sewing all the way around, otherwise you will not be able to turn it right side out!

Finally, turn your pillow right side out, insert pillow fill and zip pillow! TA DA!! Done!! Your corners will look something like this ... although this isn't the best picture, since I didn't pull it out so it looked straight.
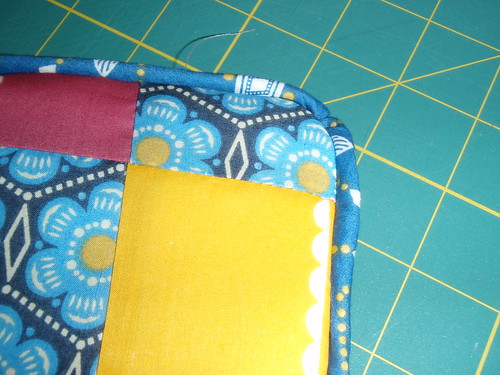
P2121678

And then the finished pillow!

P2121681

P2121682

P2121684

Does it make sense?? I know you can do it!
Tuesday, February 8, 2011

Part two of the Urban home goods swap

I am still waiting (but not patiently) for my oval embroidery hoop to arrive. Granted, it is coming from a long way away. I just want it now.

So, to tide me over until it's arrival, I decided to work on another project for my partner. I am using more of the Anna Maria Horner voiles, but this time, I am going to make a pillow! Now some of you asked for a tutorial for a pillow, but I did not take near enough pictures to do this. I totally forgot! Anyway, I will try and explain where I am at up to now, and then for the next few steps .. I will take more pictures. What's left is the harder part anyway.
So, I want my pillow to be around 20" square when I am done, so I started with 9 squares of fabric, that were 7.5 inches square.

voiles

I made them into one pile, and randomly cut a straight, but wonky line, 1/3 of the way from one of the edges. I took the top piece of fabric from the smaller side of fabrics, and put this on the bottom of the pile. Then, I sewed the squares back together. Now of course, this would likely make a lot more sense if I had actually taken pictures of what I did ... so again, sorry!
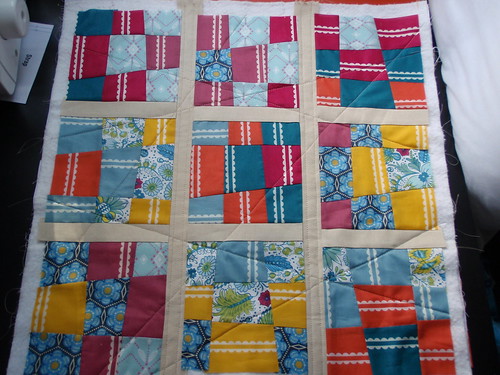
After sewing them all back together, I did this again and again until I had what looks like a tic tac toe board. I used some sashing, and joined them all together ... The sashing I used was 1.5 inches wide.

pillow top

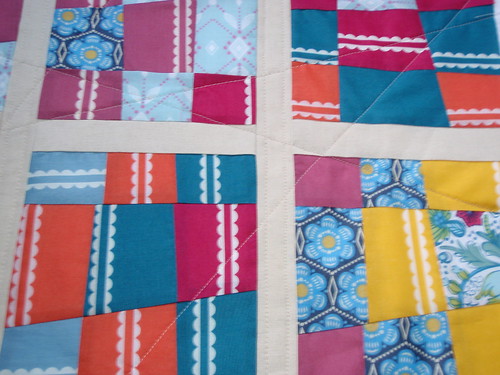
And then I layered this huge block, and quilted some straight lines ... It really just looks like a mini quilt pre-binding right??

pillow top

The front is now done.

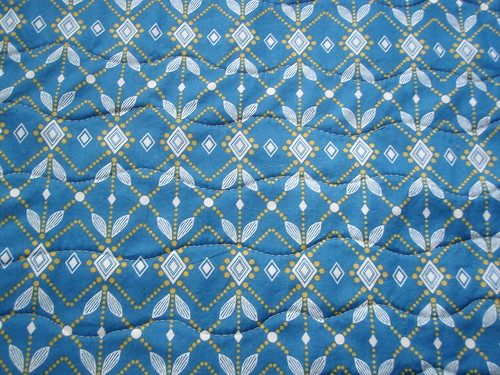
For the back, I also wanted to use voile, but it's so thin that I decided to just layer it, and do some wavy line quilting. So, I cut a 22 inch square, layered it, and did the quilting.

wavy line quilting

I then I squared off both the front and the back so they were the same size.

I am going to do some piping, and an invisible zipper, but I haven't got any cording at home. So, before I can show you the next steps ... I need to go get me some cording, and an invisible zipper. Of course, that isn't likely going to happen until Friday.

Thursday, February 3, 2011

Snow day

I think Mother Nature knew I needed a day off ...

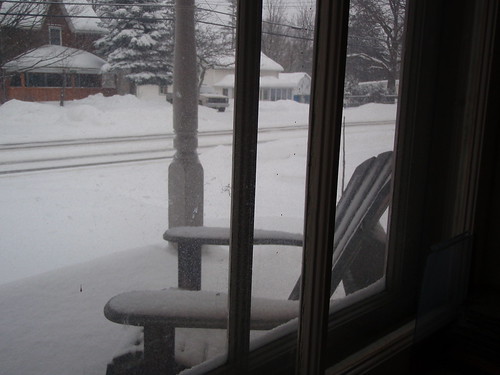
We had some snow yesterday. Not as much as some places, but still a lot. Enough that I didn't want to go outside. This is the view out our front window ...

Snow day ...

So, since I was home all day, I started a hoop project for yet another swap : ) I got the pattern from here.

P2021595


Now all I need is the hoop! I ordered one about a week ago ... so I will show you again when it arrives. It's oval, so hopefully it fits okay. It was a bit of a guess ...

Hope to have a few more finishes to show you soon.