Wednesday, July 28, 2010

I heart Nani Iro

So ... I really really really love Nani Iro fabric, and I recently purchased her sewing book. It has been mocking me while it sits looking really pretty. I wanted to make the beautiful tunic dress (but a shirt version)on the front cover of the book - but being honest with myself I wasn't sure I could do it!!

I scoured the internet for tutorials, and I stalked peoples photostreams on flickr, but alas, there were none to be found. Lots of people had made the tunic, but no one wrote about it : (

So, I decided Japanese or not - I know a bit about sewing, I am going to try it!! I am going to share my journey. Not that this is by any means a full tutorial, but there is some pictures as we go.

So, first thing first, here is the book:
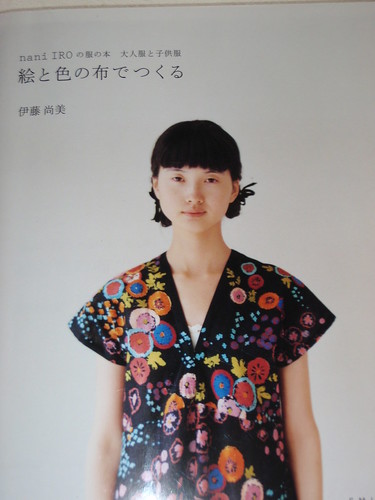
Nani Iro Sewing book

And these are the two pages with the pattern instructions. There are lots of pictures, but .. I being honest, I am really not sure I understand them.
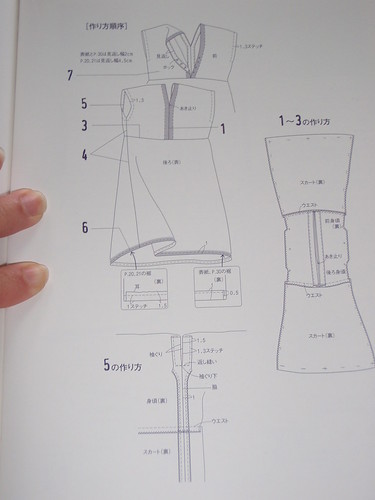
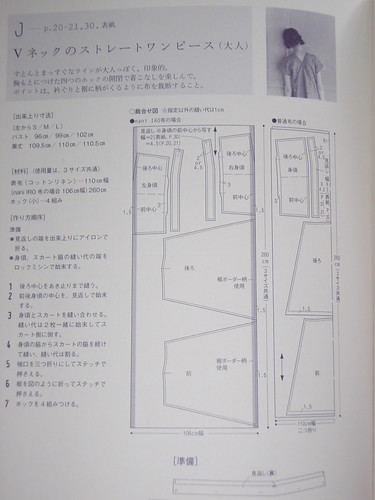
directions

directions

Then .. I pull out the page with the actual pattern - YIKES!!

Okay, maybe it's not that bad. I can find two of the 3 pieces no problem - but the third one is no where to be found. It is that long skinny piece. NOT Anywhere. I looked for like half an hour. It is not there. So I made one. I had no idea if it would work like it was suppossed to, but since I can't read the directions, I figure, I will never really know what I am suppossed to do.

master pattern

Okay, then, somewhere on the internet .. I read that you have to add in your own seam allowances, so I marked every little bit, and then played connect the dots. Now we are getting somewhere!!

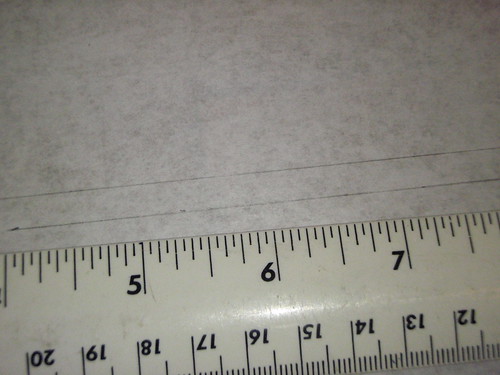
marking the seam allowance

seam allowance

The next part was simple - pin and cut out the pattern.
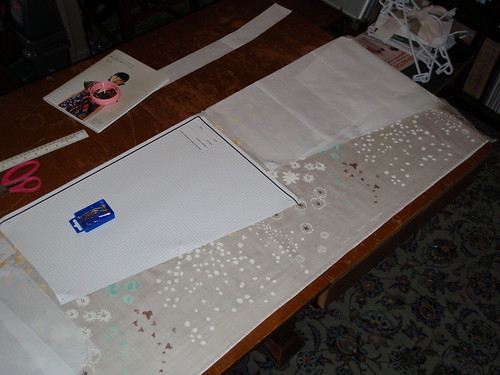
pinnng in place

Now, the one thing I can say for sure, there is TONS of waste!! That means scraps for another project??? Another thing I know for sure ... I need to make sure that I look at what is in the background when I try to take pictures!! Nice coathangers : )

Okay. Step 1: NO CLUE is what is running through my head. Shoot. I just cut out my lovely double gauze Nani Iro fabric, and I have NO CLUE!! So ... I winged it. I folded over one edge of the long skinny piece like the picture showed, and then sewed it right sides facing to the piece that looked like it would go over the shoulders.

placed the long skinny piece ..

Then I folded that piece over, so there was a nice piece of fabric on the inside of the neck line, and sewed that in place. It sort of looks like the picture, but I am not really sure that this is what you are supposed to do???

Okay. Step 2: Okay, there is no step two in the instructions! What?? Okay, it does show a picture of steps 1-3 all together, so from this, I figure that I have to sew the top two pieces to the bottom two pieces. I didn't take a picture of this for some reason ... but it was fairly straight forward. I also sewed the back of the two neck pieces together so it was attached at the back, but not at the front. I also didn't take a picture of this for some reason.

Step 3: I zigzaged everywhere ... along the seams that were just sewn, and also along the outer edges of everything.

Step 4: Sew along the sides of the shirt/tunic (the long sides), so now it actually looks like a shirt.
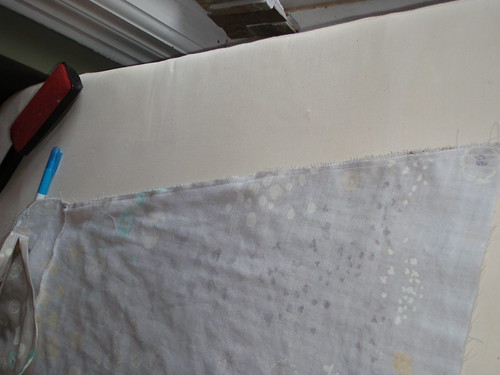
sewing down the long side

Step 5: Based on the pictures, I figure you are suppossed to make a pretty seam around the armhole, then sew at the bottom to re-inforce it. Finally, it looks like you are to do a topstitch along the edges of the zigzaged portion to sew it down.
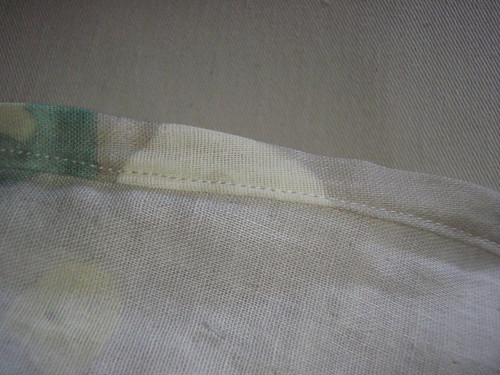
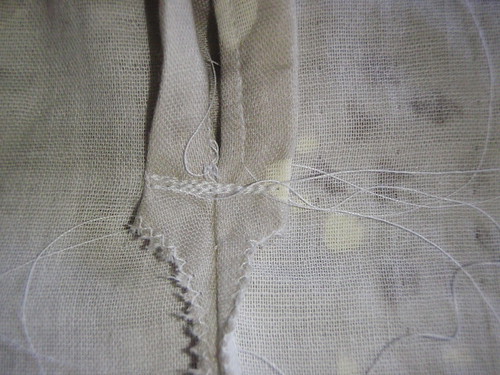
the arm hole

bottom of the arm hole

Step 6: Hem the bottom, and ta da!! Done!!
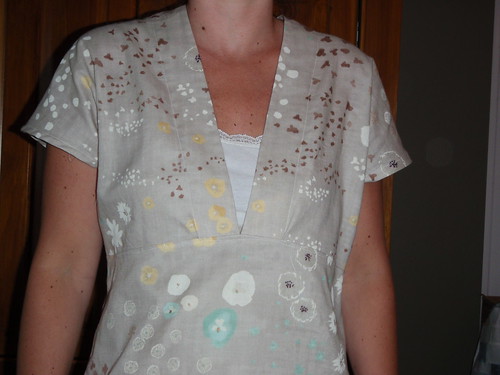
Nani Iro Tunic

Nani Iro Tunic

I don't think it turned out too bad .. in fact, I think this one is a keeper!! Phew!!

All in all, I think that I WILL make more from this book ... I am pretty happy with the overall result.

Monday, July 26, 2010

and ... they are home : )

... the kids that is ...

Summer fun


It's been a quick two weeks!! It is once again, LOUD, in our house and so far, I am loving every minute of it. The kids had lots of fun, but I think they were ready to come home and sleep in their own beds ...

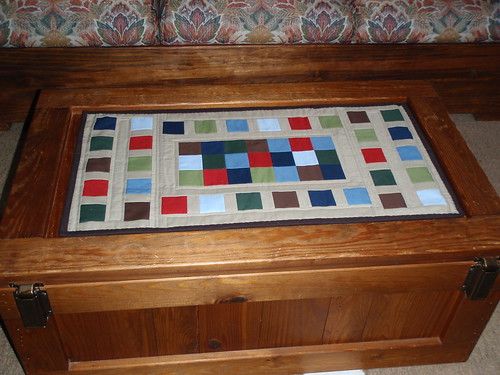
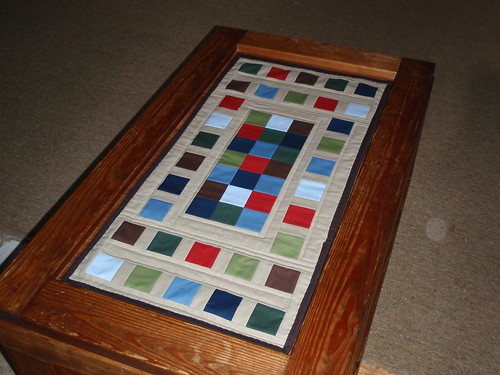
On a little crafty note, the table runner was a hit. I was able to finish up the binding on the drive up, and managed to sneak a couple of shots of it in it's place:

table runner

table runner

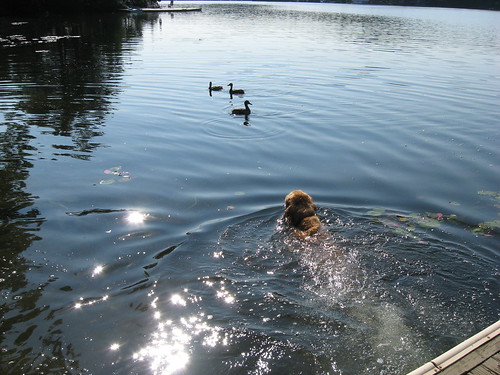
I really don't think Murphy wanted to come home. He spent the ENTIRE weekend chasing ducks. He did not catch them (thank goodness), but he tried really hard. The ducks were such a tease. They knew exactly when to take off ... but ... they kept coming back!!

chasing ...

Giving up

Since we have been home, he has barely lifted his head from the floor. Tired him out.

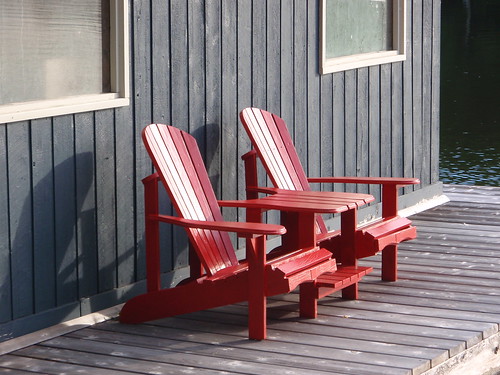
I will just leave you with a couple more shots that were taken over the weekend ..

P7250944

Boathouse

P7250934

Have a great day ...

Tuesday, July 20, 2010

A little table runner ...

My kids have been up North with Nana for the last week, and will be there all this week too. They are having a fantastic time, and I thought that a little present for Nana was in order. She loves every minute of her time with the grandkids, but, lets be honest - watching a 7 and 9 year old can be hard work!!

Of course - I decided this on the weekend, while I had my feet up relaxing on a crate/table/footstool, and had no access to a sewing machine. You see, right now, Nana has 4 placemats in the centre of this crate/table/footstool thing. It was screaming out to me - YOU NEED TO MAKE A TABLE RUNNER FOR RIGHT HERE!!

Since we are heading back up on Friday, I really didn't have a lot of time!!

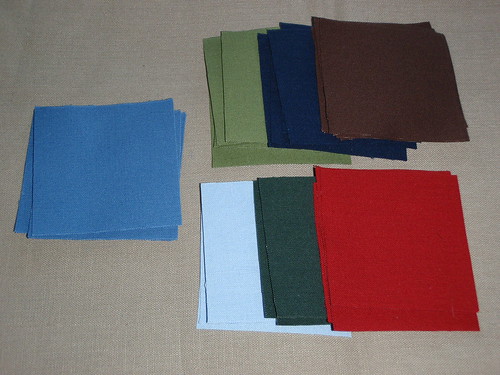
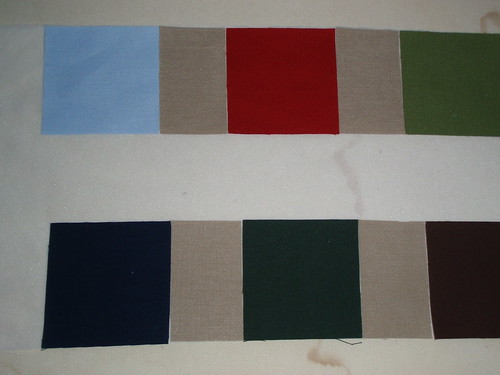
I drew up a little template while I was at work yesterday, but of course, I kinda lost track of the pattern somewhere in the middle since I left the template on my desk (good place for it right?). I started with this little pile of fabrics:

table runner fabrics

I used Kona cotton, and Essex Linen (natural).

I decided to use a little tutorial from Oh Fransson! a.k.a. Elizabeth Hartman over on Sew Mama Sew.

I ironed the pieces onto a piece of fusible interfacing:

ironed onto fusible interfacing

Then, I folded them at the appropriate spots, and then sewed with a 1/4 inch seam. You then have to cut the interfacing and iron. When I first started, I wasn't sure it was going to be faster, but, I tell you, it took no time at all!!! It really helped make sure things were lined up nice and square, and there was no stopping once you had the ironing done. Just sewed it all up sooooo super fast.

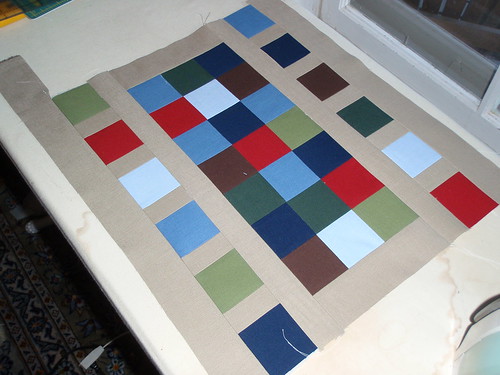
Before I knew it, I had this done:

getting there ...

Then, tonight when I got home from work, I was able to finish it up, and make my quilt sandwich!!!

ta da!!

all ready to quilt

Now all I have to do is some quilting, and the binding. Since the drive up to the cottage is 2.5 hours - I think I should be good!! I am thinking some straight line quilting .... Does that sound good? I guess I need to decide what colour to do the binding too ... hmmm ... maybe brown??? I am not sure.

Tuesday, July 13, 2010

wow! It's been busy around here ...

but sadly ... not so much with crafty goodness : (

My kids are up North at Nana's cottage for the next two weeks, which is great and sad at all the same time. It means that I have lots of free time in the evenings, and it means that they get to spend some serious quality time with Nana = but it means that I don't get to see their smiling faces and get squishy kisses and hugs. It also means that I should get some stuff done in the evenings after work, like cleaning and all the other fun stuff that usually takes a back seat.

We left early Saturday morning to take them up there, and we had a great weekend filled with sunshine, swimming and eating well!! But = no sewing. Our next two weekends will also be spent up North, so I will try and bring my camera next weekend to get some pictures.

We didn't get home until late Sunday night, and after working all day Monday, I did NOTHING but sit on the couch last night. THEN, I woke up this morning in a serious fog. I feel really crumby!! Kinda think I may have picked up some illness. I have a headache and I don't like it. BOO : (

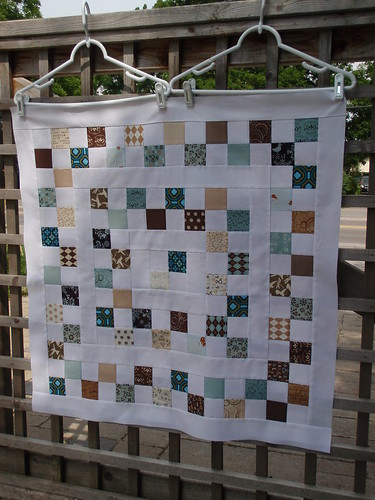
I have however, managed to catch up to week 5 in the quilt along. Since week 6 instructions were posted yesterday, I would say I have caught up!!

Week 5

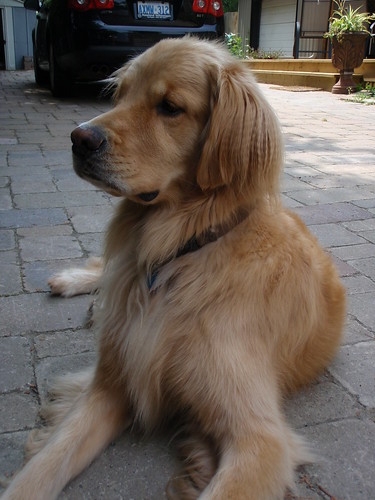
Also, since I like lots of pictures, I thought I would show some pictures of Murphy. He is one beautiful hunk of furry love, and since I posted pictures of Henry a while back, I figured Murphy deserved his time too!!

Murphy

I also wanted to mention that I have received a few more of my swap fabrics!! I don't have pictures to show, but thanks to Nancy, Nettie, Sarah and Stephanie!! I hope I didn't miss anyone - I have done lots of swapping with some seriously fabulous ladies!!!

Wednesday, July 7, 2010

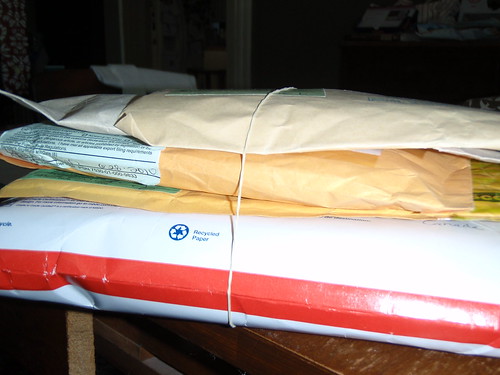
It was a good mail day today!!

Over the last little while I have ordered a lot of fabric, and I have swapped a lot of fabric. Well ... none of it had come, so I had started moaning to whoever would listen about customs. I was honestly starting to get worried about some of it. Perhaps someone hijacked my lovelies??? BUT .. then I went to the post office today. It was a good day!! I take back most of the bad things that I said.

Now, I didn't get everything yet, which makes me feel a little embarrassed - but I thought I would share what I received today!!

It was a good mail day today!!!

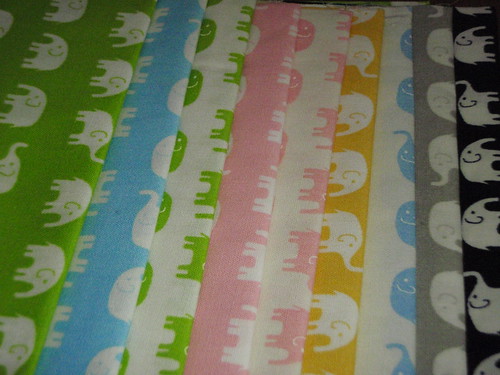
Aren't these the cutest elephants??

I got these beauties in a swap from Lesley (THANKS LESLEY)!!! Love these = so much!!
Swapped from Lesley : )

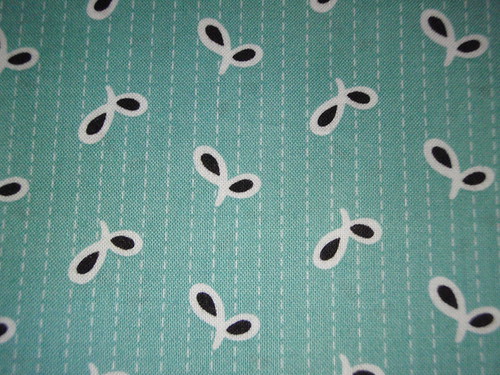
And what about this beautiful piece of fabric???

Blue seeds

Should I be embarrassed yet??

Well there are still three more pictures ...

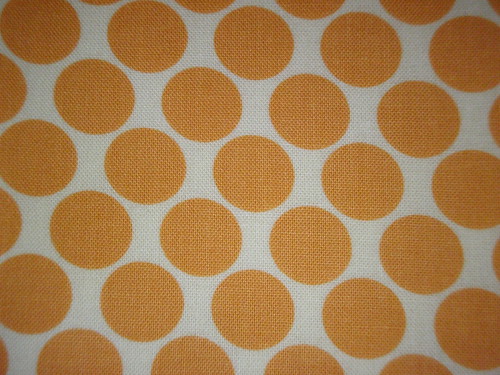
I bought this next fabric because I did a swap with someone, and I said I had Tangerine dots - Amy Butler, which I did - but I had the Tangerine from the Love line, and she wanted the Tangerine from the Lotus line. I didn't realize until after the fabric had gone out in the mail. I panicked and bought this in case she wasn't happy with the Tangerine from the Love line. Now, she was happy, so I bought this for no reason = but, now that I have it, I am not concerned about that one little bit!

Tangerine dots

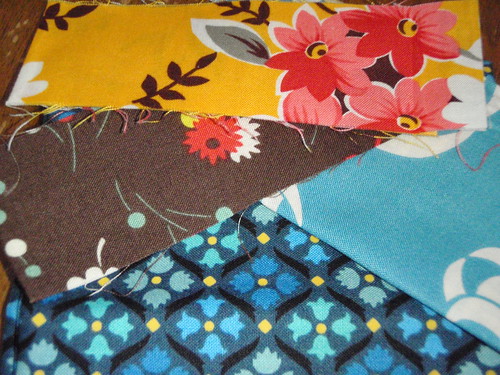
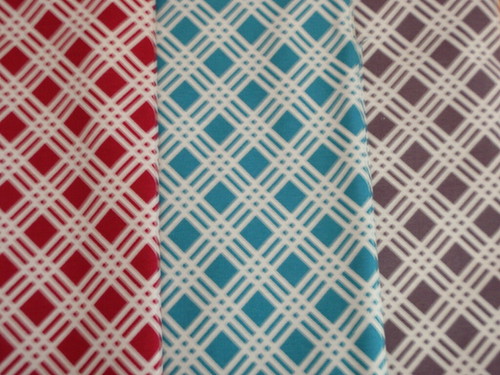
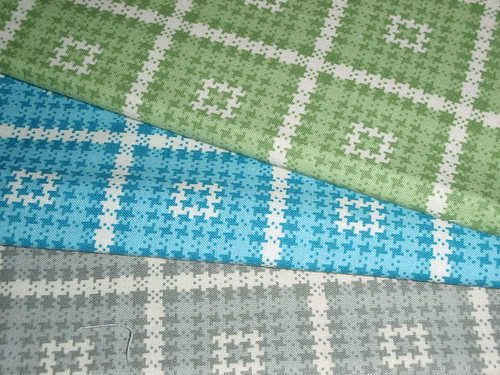
And finally .. there is this ... from Jenny. Such a sweetheart!! She knew a place that had this on sale. She went shopping for me, and packaged up this loveliness and sent it my way. How can I thank her enough??? I LOVE it!! So - Thanks, thank you, and thanks again Jenny and Lesley, and the others who have swapped with me and I have yet to receive your packages!!

1974 - From Jenny

1974 - From Jenny

Okay - that's all for today : ) When more arrives, if I am not too embarrased, I will show you the rest.

Tuesday, July 6, 2010

Starting to catch up!!

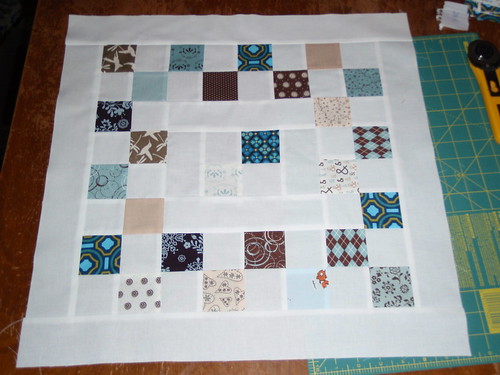
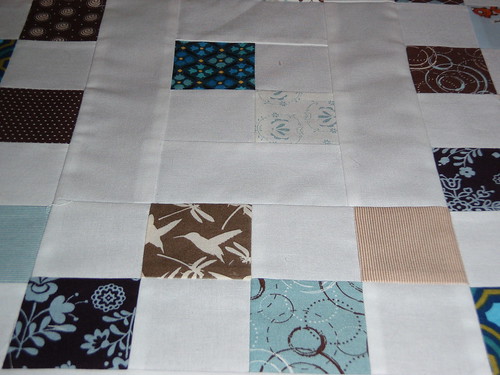
So, I have been working away at the quilt a-long quilt, and I have finished up to week 4. I am loving it!! I am trying really hard not to over think the placement of the squares. I really want it to be random, but I also don't want two of the same colour or print right beside each other if I can help it.

I should be caught up by tomorrow - and then I (gasp) might have to work on something else while I wait for the next weeks instructions!! I can't be doing nothing now, can I??

Here are a few pictures of the progress:

Quilt-a-long  - week 4

I love "andrew" he is sooo super cute : )
Quilt-a-long  - week 4

Quilt-a-long  - week 4

I have ordered some new fabric lately, and also doing lots of swaps .. so I may start showing pictures of fabric soon - is that boring?? I haven't gotten a lot of it yet, as for whatever reason, customs seems to be taking longer than usual. I hope that changes soon. It used to take 7-10 days for things to arrive when I ordered it online. Lately it has been taking like 3 weeks. For someone like me who has serious patience issues, this is seriously driving me insane. I need instant gratification, and I am not getting it!!

On another note altogther, I have actually started to consider selling some of the things I make. I have a few things to make for upcoming babies, but I have so much inside my little head waiting to be made that it has to go somewhere!! I haven't decided for sure ... but it is a thought ...

Thursday, July 1, 2010

HAPPY CANADA DAY!!!

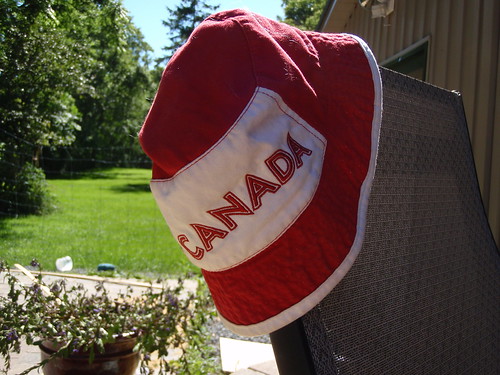
Happy Canada Day to all my fellow Canadians!! Beautiful day outside today, so I tried not to stay inside all day!

Happy Canada Day!

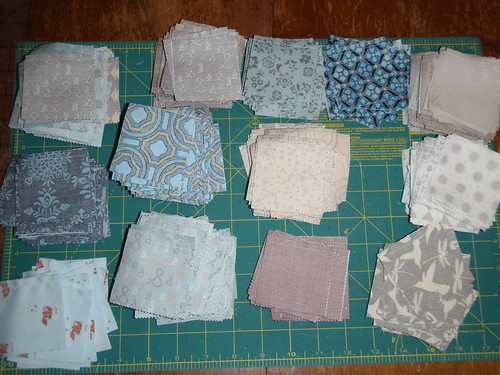
In between swimming, biking and lots of other fun outdoor stuff, I did spend some time cutting, and sewing, and cutting and cutting some more. Phew - there was lots! I think I am going to be caught up in no time.

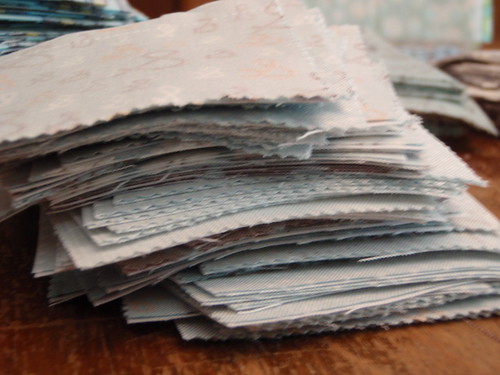
piles of 2.5 inch squares

more piles

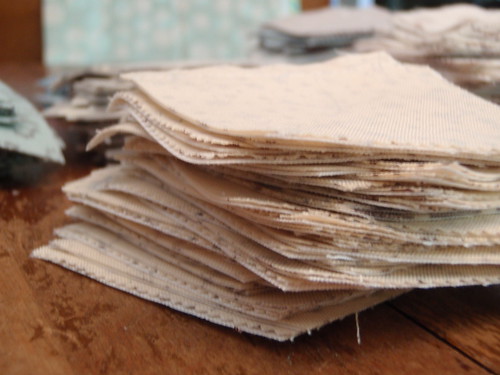
and more piles

Now - I just have to iron them all!! 490 squares (x two if you count the white background) is a lot!