I haven't made much lately ... I am feeling scattered. Do you ever feel like that?
I have at least 17 different things in my brain that I want to make, but I don't know which one I want to do right now, which means I am not really doing anything!!
I started making this shirt ... I modified the socalite dress pattern by Anna Maria Horner into a shirt ... but I am not feeling it. It's not the pattern. It's not the material - I really like both - it's just me. It's almost done, and I just don't feel like sewing that.
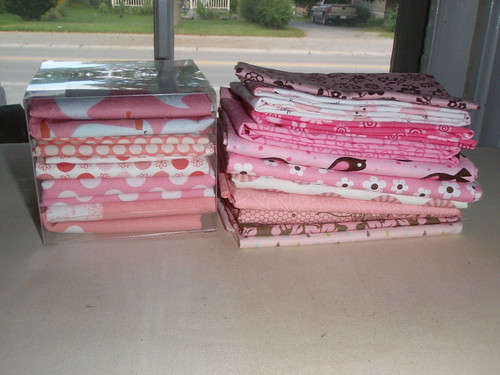
So, since I have 3 other quilts on the go right now, It made a lot of sense to then pull out a whole slew of pink fabrics to make a baby quilt right?? hmmmm ....
I spent the better part of the afternoon at work drawing quilt designs. I think I am going to just do it anyway .. even though it makes no sense.
I am a working mom of a an 10 year old boy and an 9 year old girl. I sew/craft any spare moment that I have (which isn't often enough).
Wednesday, August 25, 2010
Wednesday, August 18, 2010
A coin purse for camp
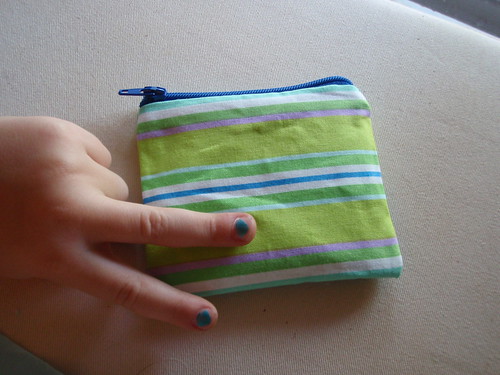
My daughter (and son) are both at summer camp this week. When my daughter came home today, she asked if I could make her a coin purse to put her money for tuck shop in. Sure!! I love that I could whip it up pretty fast, and maybe show a little tutorial here too!!
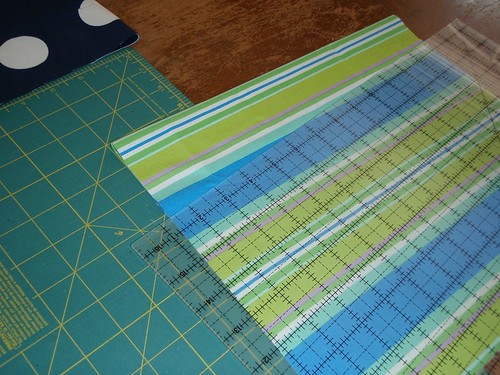
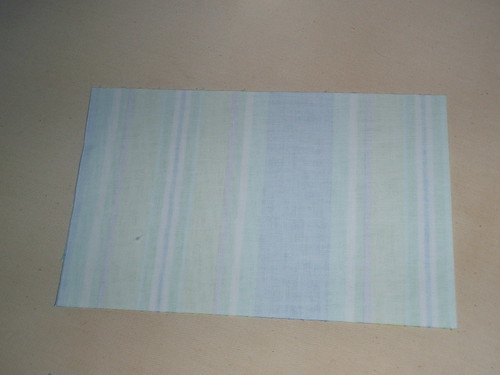
She choose the materials:
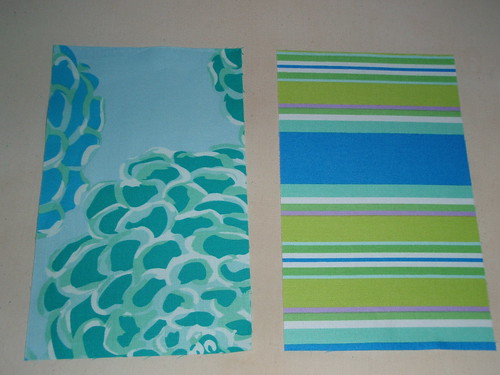
She was insistent that the stripes be on the outside and the flowers on the inside. AND she wanted the blue zipper.
I cut the fabric to 5 x 8 inches, and just made sure the zipper was a little longer than the short side (I think it was a 7" zipper). I also cut a piece of fusible interfacing the same size.
First, I ironed the interfacing to the striped fabric, just to give it a little more stiffness.
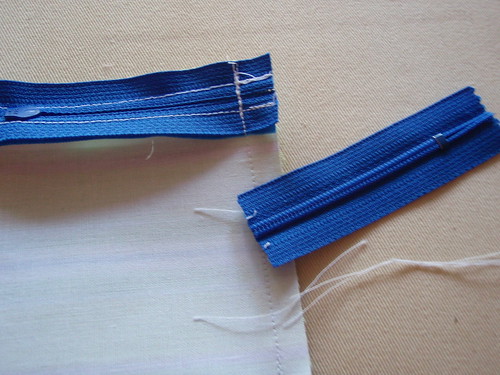
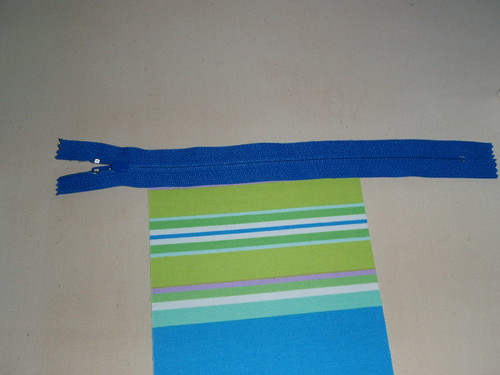
Then I centred the zipper on the striped fabric at the top (shorter) edge and using a zipper foot, sewed the zipper to the fabric.
This my friends is where things went wrong ... do you know what I did wrong??? Well - I forgot about the little girl who wanted a lining in her coin purse!! Oh well ... I didn't feel like ripping things out, so I finished it up anyway - then made another one after with a lining!! She was okay with a red zipper instead, since I didn't have a blue one left. oops - serves me right for trying to "whip" something up!!
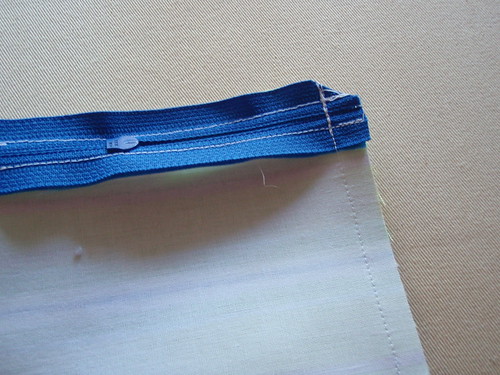
So, anyway, after sewing the first side of the zipper on, you fold the fabric up, with right sides together, and sew the zipper to the other side of the fabric. Here, you want to make sure the sides of the fabric line up.
Okay. Next, you sew up one of the sides. I sewed a couple of times over the zipper just to give it a little strength.
Finally, you need to sew up the other side = but = make sure you open up the zipper first so you can turn it the right way out!! Before you flip it right side out, you just need to clip the zipper, and the corners too, and then you are DONE!!
Since I wanted to make another with a lining, the instructions are the same, just first, I sewed the two pieces of fabric together (leaving a little spot to turn the fabric the right way), and I also made the zipper part way down the coin purse.
She loved both, so I would say my mess up worked out just fine : ) Now - I just need to re-paint her nails and we are good.
She choose the materials:
She was insistent that the stripes be on the outside and the flowers on the inside. AND she wanted the blue zipper.
I cut the fabric to 5 x 8 inches, and just made sure the zipper was a little longer than the short side (I think it was a 7" zipper). I also cut a piece of fusible interfacing the same size.
First, I ironed the interfacing to the striped fabric, just to give it a little more stiffness.
Then I centred the zipper on the striped fabric at the top (shorter) edge and using a zipper foot, sewed the zipper to the fabric.
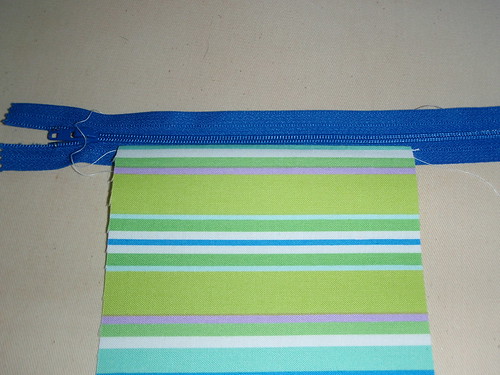
This my friends is where things went wrong ... do you know what I did wrong??? Well - I forgot about the little girl who wanted a lining in her coin purse!! Oh well ... I didn't feel like ripping things out, so I finished it up anyway - then made another one after with a lining!! She was okay with a red zipper instead, since I didn't have a blue one left. oops - serves me right for trying to "whip" something up!!
So, anyway, after sewing the first side of the zipper on, you fold the fabric up, with right sides together, and sew the zipper to the other side of the fabric. Here, you want to make sure the sides of the fabric line up.
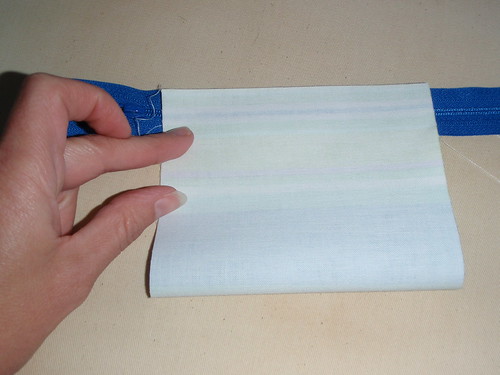
Okay. Next, you sew up one of the sides. I sewed a couple of times over the zipper just to give it a little strength.
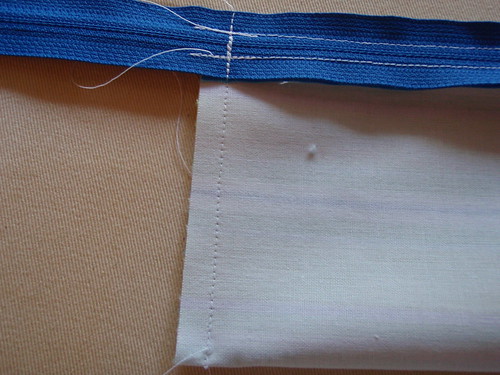
Finally, you need to sew up the other side = but = make sure you open up the zipper first so you can turn it the right way out!! Before you flip it right side out, you just need to clip the zipper, and the corners too, and then you are DONE!!
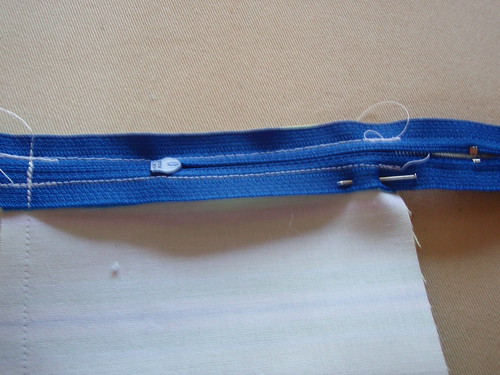
Since I wanted to make another with a lining, the instructions are the same, just first, I sewed the two pieces of fabric together (leaving a little spot to turn the fabric the right way), and I also made the zipper part way down the coin purse.
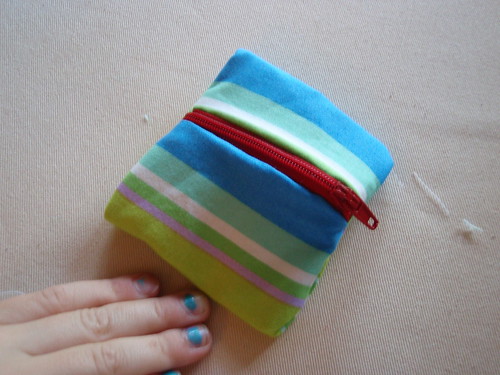
She loved both, so I would say my mess up worked out just fine : ) Now - I just need to re-paint her nails and we are good.
Sunday, August 15, 2010
A little of this a little of that ...
So ... It's been a bit of a slow week for the completion of anything. I was back at work after two weeks of vacation, so that always puts a major damper on the production of sewing. I figured I should drop in anyway and write a little post. I wouldn't want to have you thinking I was lost forever!!
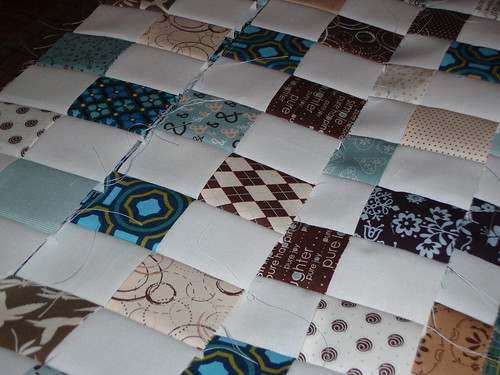
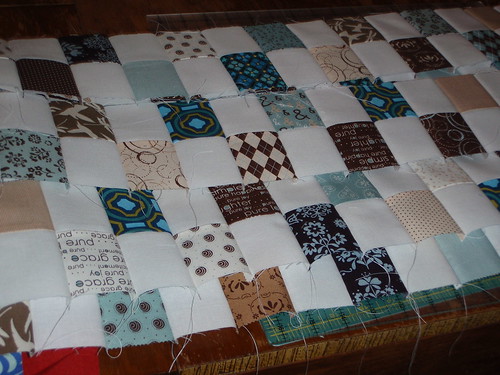
I did manage to work on my quilt a long quilt. I am behind again, but ... I will make it eventually. I have all the strips completed, but I have to sew them on to finish the top.
This quilt was a bit of a beast. Lots of little squares, and lots of sewing. I am looking forward to having this one behind me.
Then I was working on a couple of napkins from the tutorial on Sewtakeahike's blog. I haven't finished those either ... but I have finished one. I guess if I was having dinner by myself, I would be good : )
I don't even have a good picture of this one napkin!!
You know, if there is one thing I have learned during this blogging adventure, it's that I can not take very good pictures. I think they will get better over time, but the majority of my pictures are taken inside, and at night, and that my friends makes it very hard to get anything that looks good.
Sunday, August 8, 2010
Going to a shower today ...
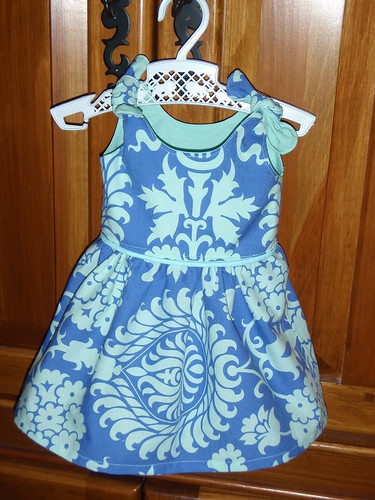
One of my girlfriends is having her very first baby - a little girl. She is due in September .. and I can not wait! I did some baby girl sewing yesterday and I just love love love it!!
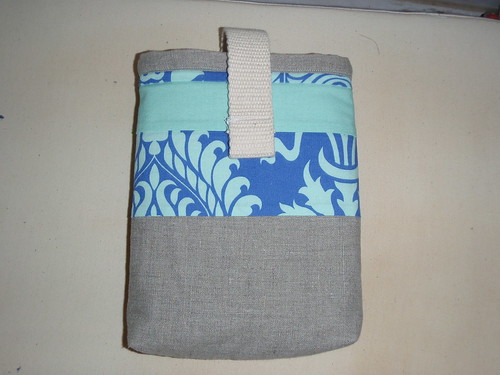
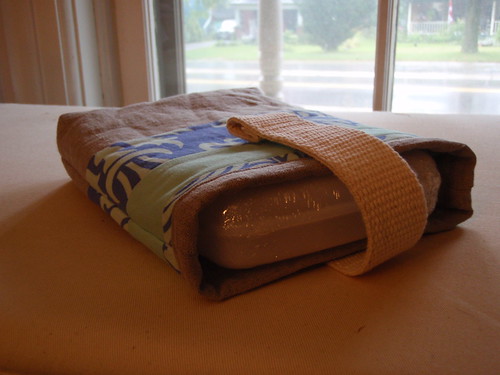
First, I made a diaper clutch using this tutorial from Noodlehead. It was soooo super easy. The hardest part of the whole thing was getting the linen to cooperate. I find that linen likes to move around and get all bent out of shape. I just used the iron and tons of starch, but still tricky!!
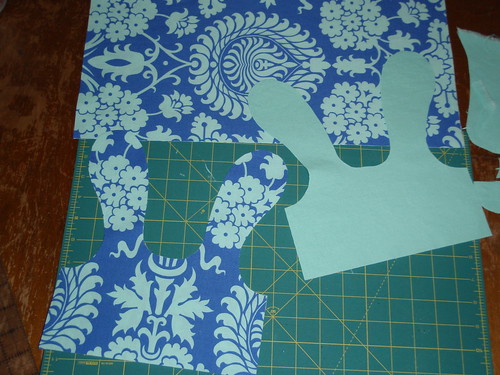
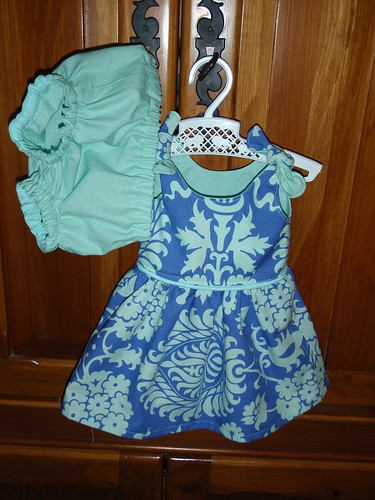
Then I used the itty bitty dress pattern from Made by Rae.
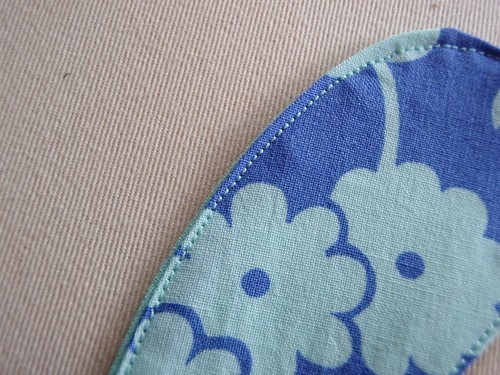
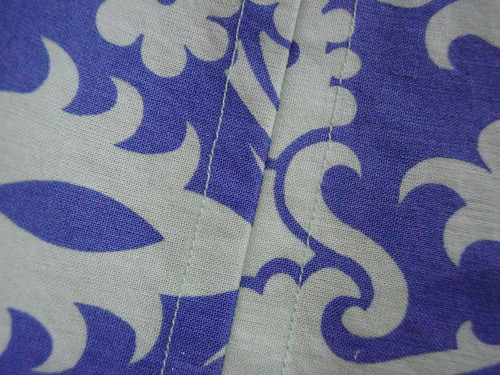
I did make a few little adjustments. I did some top stiching around the top, and zigzagged the seams ... just a couple of little things that she did not mention in the pattern, but I am sure that most people would do!!
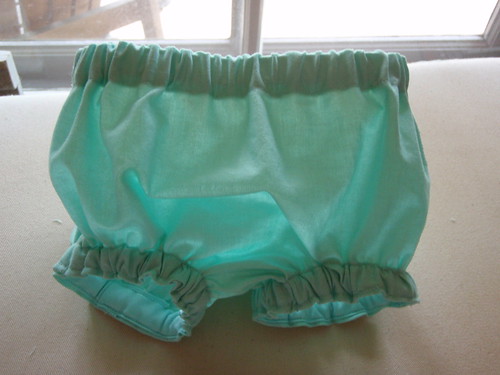
Then, I made a cute little pair of bloomers to go underneath the dress. I have no idea if they will even fit - but they look super cute!!
When my daughter was born, I did not really sew anything for her. I did lots of knitting and crocheting, but no sewing. ALMOST makes me want another baby. I suppose I can be satisfied making for other beautiful babies.
Wednesday, August 4, 2010
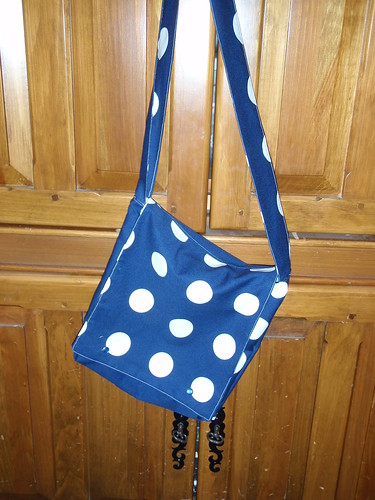
A quick messenger bag
So, on Monday, my daughter got invited to a last minute birthday party. Instead of buying the entire gift, we decided (or shall we say I decided), that a little messenger bag would be really cute. We could then go and buy a couple of little things to put inside the bag. There is nothing like saving a little money!! More money to spend on fabric perhaps???
The party was on Tuesday at 3. I started making the bag at about 11 ... And sure enough, I had lots of time! I was finished by about 1:30.
I used the pattern in the One yard wonders book.
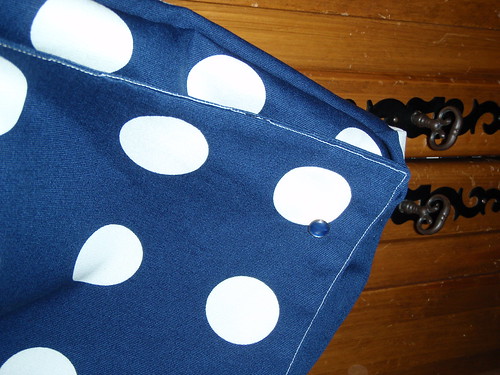
I used a blue polka dot canvas for the outside of the bag. I picked this up on sale at IKEA for $2.99 a metre.
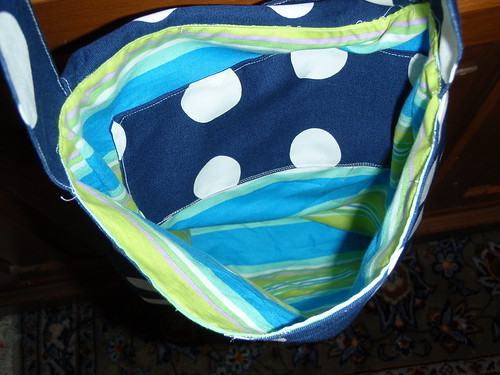
Then, my daughter picked a stripe that I got from Fabric.com during that Westiminister sale. I think it was $3.95/yard.
The pattern was pretty simple, although I did have to use the handy seam ripper. I am not sure if it was me, trying to go to fast, or if the directions could have been a little clearer. When I was sewing the lining into the bag, I put the flap and the strap on the wrong side of the seam I was sewing. It ended up being inside the lining instead of outside ... so I had to rip it out and start again. Oops.
In the end, I think it turned out pretty cute??
The birthday girl seemed pleased with it - so really, that's all that matters!!
Subscribe to:
Posts (Atom)